
Forecasters are calling for a rough winter. If you already know which room in your house turns into an icebox every January, now's the time to figure out why.
Maybe one bedroom stays cold all winter even with the heat running, then turns into a sauna every summer. Maybe your energy bills keep creeping up. Both can point to poor insulation. But here's the catch: they can also point to air leaks, duct problems, or moisture. If you add insulation without fixing those, you could spend real money and still have a cold room.
This guide walks you through the clues you can safely check yourself. It also shows how to compare your attic with Department of Energy guidance and what to ask before you hire anyone.
Key Takeaways
- Symptoms are clues, not proof. Uneven temperatures, drafts, cold surfaces, and thin attic coverage can signal an insulation problem, but they don't confirm it.
- Depth isn't R-value. Compare your attic with current Department of Energy guidance for your climate zone and starting conditions.
- Seal first, insulate second. Deal with air leaks, duct issues, moisture, and contamination before new insulation covers them up.
- Get a diagnosis before a quote. If the cause isn't clear, bring notes, photos, and utility bills to a home energy assessment, then compare written proposals.
Common Signs Your Home Needs More Insulation
Watch for these warning signs:
- Rooms that stay noticeably warmer or colder than the rest of the house
- Ceilings, floors, or walls that feel cold to the touch
- Drafty spots near windows, doors, or ceiling fixtures
- Heating and cooling that seems to run constantly
- Rising energy bills without an obvious explanation
- Thin, patchy, or compressed attic insulation
- Frozen pipes in exterior walls or floors
Any of these is worth looking into. None of them proves insulation is the culprit. A gap around your attic hatch or a struggling duct can make a room miserable even when the insulation is fine. That's why the next few steps matter.
Step 1: Track Which Rooms Feel Uncomfortable
Start with a simple notebook, or the notes app on your phone.
With your thermostat at its normal setting, compare rooms on the same floor. Then compare upstairs with downstairs. Write down whether the problem shows up in winter, summer, or both.
Timing tells you a lot. A room that overheats only when afternoon sun pours through the windows is a different problem from one that's freezing every winter morning.
Location matters too. A bedroom under the attic, a room over an attached garage, and a corner room with several exterior walls all lose and gain heat through different surfaces. Note these details. They help an assessor look past the obvious.
Quick tip: Not every chill is a draft. A poorly insulated wall can feel cold even when no air is moving.
Step 2: Take a Look in Your Attic
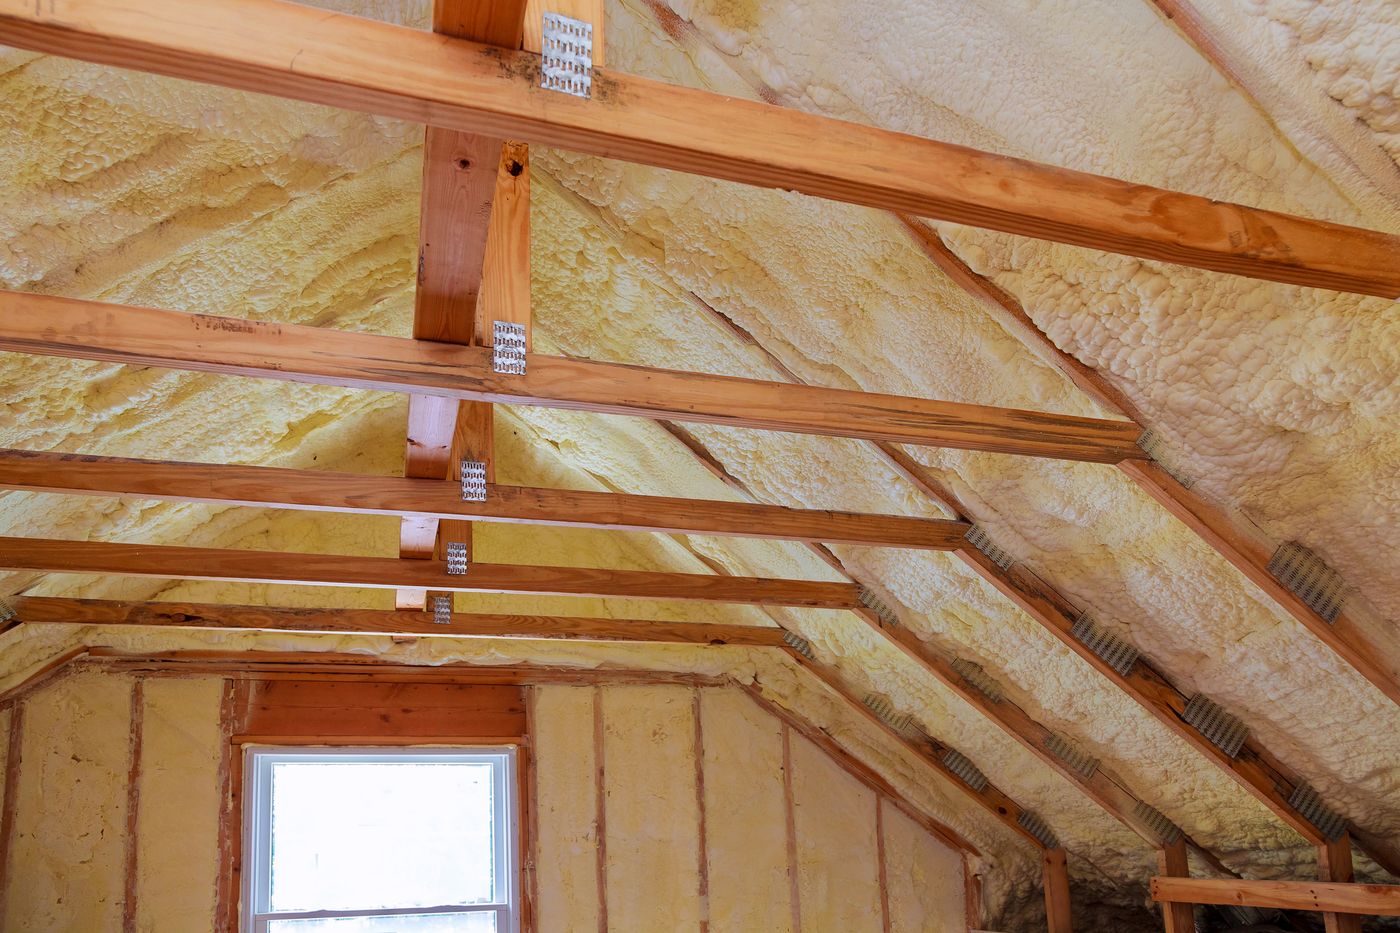
From a safe access point, scan the attic insulation. Watch for:
- Bare or thin patches
- Compressed or flattened areas
- Coverage that stops short of the edges
- Ceiling joists poking up above the insulation
If you see only about 3 to 4 inches of insulation, take a closer look at whether you need more. Treat it as a reason to check, not a final verdict. The U.S. Department of Energy's guide to home insulation explains why existing insulation and local conditions matter when you plan an upgrade.
Safety first: Stay on a supported attic walkway if there is one. Never step between the joists, because the ceiling below won't hold you. If you see wet, moldy, or pest-damaged material, or older insulation you can't identify, leave it alone and call a qualified professional.
Step 3: Compare Your Attic With Your Climate Zone
R-value measures how well insulation resists heat flow. Higher is generally better, but the right amount depends on where you live and what's already up there.
Find the Right Recommendation for Your Home
The Department of Energy's Energy Saver guide lists recommended insulation levels by climate zone. The numbers are different for an uninsulated attic than for one that already has some insulation. In the warmest climate zone, for example, the guide recommends R-30 to R-49 for an uninsulated attic.
Treat these ranges as planning guidance, not a one-size-fits-all rule. Check the current table for your location and starting point before you buy a single bag.
Also ask whether your attic floor is actually where your home's insulation belongs. In some homes, such as those with a conditioned attic, the insulation belongs along the roofline instead.
Measure Depth, but Don't Guess the R-Value
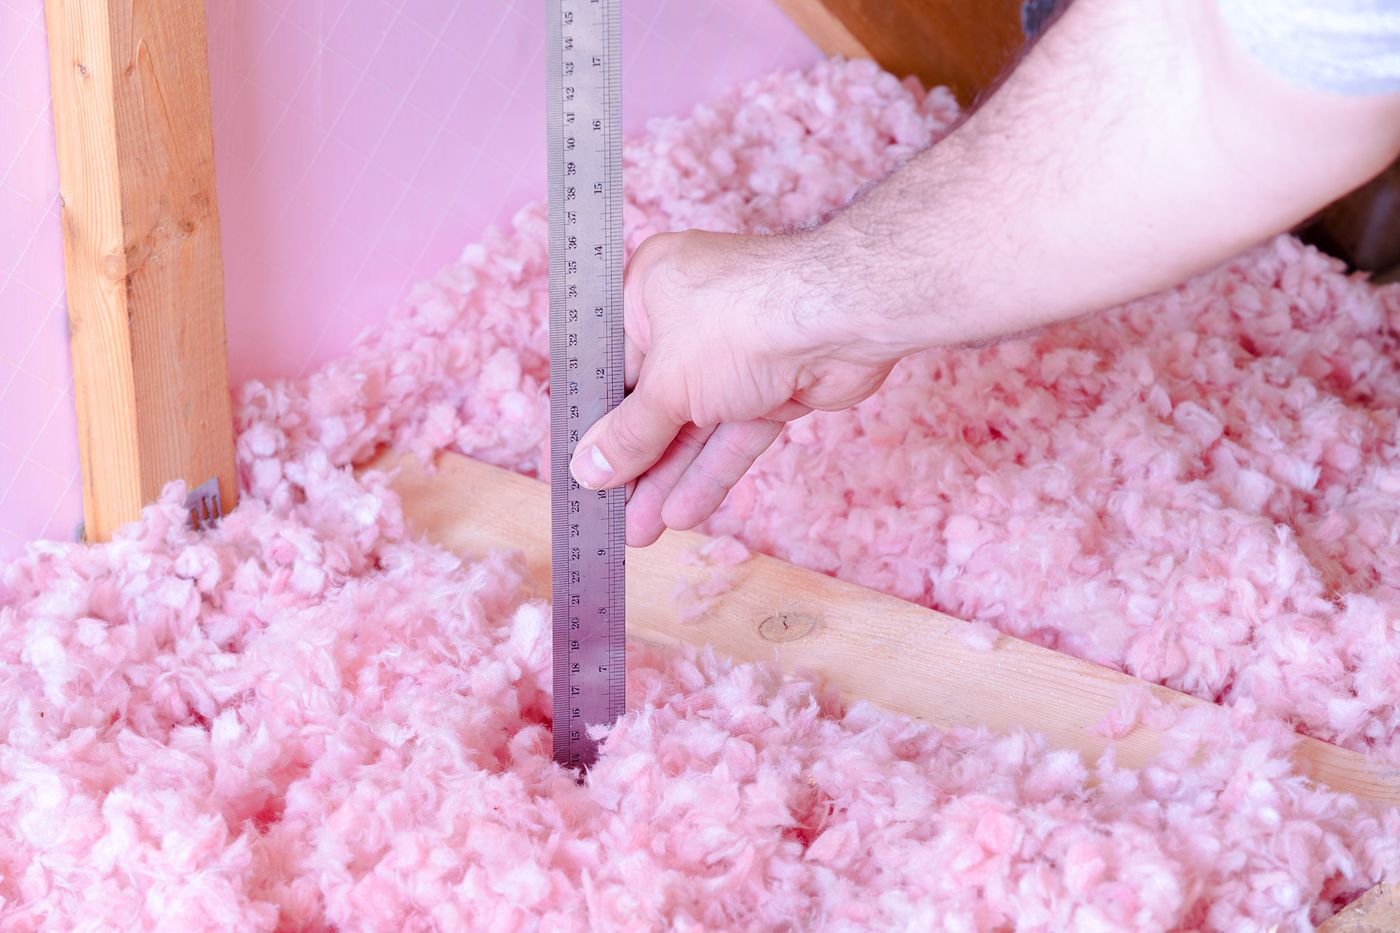
Fiberglass batts, loose-fill fiberglass, cellulose, and spray foam all insulate differently per inch. Old insulation may also have settled or been compressed. That's why you can't estimate R-value from depth alone.
If you can do it safely, here's what to collect:
- Depth measurements from several visible spots
- Photos of the coverage and the attic hatch
- Any leftover insulation packaging or labels
Not sure what type of insulation you have? Let a qualified assessor or contractor identify it instead of guessing from how it looks.
Step 4: Rule Out Air Leaks, Ducts, and Moisture
This is where many homeowners go wrong. An attic can be packed with insulation and still leak heated or cooled air right out of your house. Insulation slows heat flow, but it doesn't seal holes.
Look for Air Leaks
Drafts near recessed lights, plumbing pipes, or the attic hatch can mean air is slipping between your living space and the attic. If you feel drafts on windy days even when the heat isn't running, mention that during an assessment.
According to the Department of Energy, insulation and air sealing work best together to cut heating and cooling costs. The order matters: accessible leaks should be sealed before new insulation buries them. Ask any contractor how they'll find and seal those openings first.
One caution: heat-producing fixtures and venting systems need proper clearance. Don't seal around them or pack insulation against them unless a qualified professional confirms the right method.
Check Whether Your Ducts Are the Real Problem
If a room is uncomfortable mostly while the HVAC runs, compare the airflow from its vent with nearby rooms. Weak airflow needs a diagnosis, not an automatic insulation upgrade. A duct in the attic that's disconnected, crushed, or damaged calls for a professional inspection.
Don't block vents or mess with duct connections yourself. And if an insulation quote ignores an obvious duct problem, you could pay for work that never fixes the room.
Fix Moisture Before Adding Insulation
Wet insulation stops working well, and covering it with a fresh layer can hide moisture and mold problems. If you spot a roof leak, damp roof decking, stains, or clumped insulation, find the source before anyone talks about adding more.
Water near a roof penetration may mean a roof or flashing problem. Widespread dampness could come from warm indoor air hitting cold attic surfaces, or from poor ventilation. Ice dams are worth investigating, but on their own they don't prove an insulation defect.
You don't have to diagnose the cause yourself. Take photos from a safe spot and note whether the problem shows up after rain or during cold snaps. And never let a contractor blow new insulation over a wet area.
Treat Pests and Mold as a Separate Job
Rodent droppings, nesting material, and visible mold need more than a top-off. Don't touch or disturb affected material. Ask the contractor:
- How will the source of the problem be fixed?
- What material has to be removed?
- How will the area be checked before new insulation goes in?
If frozen pipes have burst, repair the damage before installing anything new. And if you have older insulation you can't identify, don't pull it apart looking for a label. A qualified professional can tell you the safe next step.
Step 5: Schedule a Home Energy Assessment
If the problem persists or your attic findings are unclear, book a home energy assessment before paying for installation. A good assessment separates true insulation gaps from air leaks, duct issues, and other causes.
What to Bring
- Your room-by-room notes
- Attic photos
- Recent utility bills (they show changes in energy use, though not the cause)
- Details about roof leaks, past pest problems, HVAC repairs, and rooms over garages or under the attic
What to Ask
- What parts of the home does the assessment cover?
- Is a blower door test or another check appropriate?
- Can I get written findings to compare against contractor proposals?
What Thermal Cameras Can (and Can't) Show
Infrared cameras reveal temperature patterns that help a trained assessor spot suspected gaps. But they don't pinpoint every cause, and they work best when there's a big enough temperature difference between inside and outside.
Ask the assessor to explain any suspicious spot and what extra check backs up their read. You should walk away understanding the fix, not just holding a set of colorful pictures.
Step 6: Get a Clear, Written Plan From an Insulation Contractor
Once you know what needs fixing, ask for a written proposal that matches the findings. A solid estimate should spell out:
- The work area
- Existing conditions
- The proposed material (for example, blown-in insulation)
- The target installed R-value
- What prep work happens before new insulation goes in
Compare the Scope, Not Just the Price
Ask every contractor whether the quote includes:
- Air sealing
- Removal of damaged material
- Attic hatch insulation and sealing
- Cleanup
- Duct work, or whether you'll need to arrange it separately
Get any exclusions in writing. For enclosed walls, ask whether injection foam insulation suits your wall type. If it's proposed, request details on the product and how it's installed.
Remember: The lowest bid often just means a smaller job. TrustDALE's years of consumer investigations are a reminder to check the business behind the price, too. Verify local licensing or registration requirements, insurance, and who will actually do the work. Or go to TrustDale.com to find certified partners who have already passed TrustDale's 7 point inspection process and are backed by our $10,000 Make It Right Guarantee!
Ask How the Work Will Be Verified
Before you sign, ask how the installer will document final coverage and performance. The proposal should cover:
- The amount and type of material
- How thin spots will be addressed
- How attic access, vents, and equipment clearances will be protected
Review the payment terms and any workmanship warranty. If moisture repair or air sealing needs to happen first, make sure the contract says who's responsible for it. A clear sequence makes it much easier to catch a half-finished job before it disappears under new insulation.
Frequently Asked Questions
What are the signs your home needs more insulation?
Common signs include rooms that are much warmer or colder than others, cold ceilings or floors, drafts, high energy bills, and thin or uneven attic insulation. These are clues, not proof, because air leaks, ducts, moisture, and HVAC problems can cause the same symptoms.
How do I know if my attic has enough insulation?
Check the current Department of Energy recommendations for your climate zone, and note whether your attic is uninsulated or already partly insulated. Measure only from a safe access point. Don't estimate R-value from depth alone, since materials differ and can settle over time.
Should I seal air leaks before adding insulation?
Yes. Accessible openings should generally be sealed before new insulation covers them. Ask your contractor how they'll find and seal leaks, especially around heat-producing fixtures and vents that need special handling.
Can you put new insulation over wet insulation?
No. Find and fix the moisture source first, and never cover wet material or suspected mold. Leaks, condensation, and ventilation problems have different causes, so get the problem assessed before installation.
When should I get a home energy assessment?
Consider one when discomfort won't go away, your attic conditions are unclear, or air leaks and ducts might be involved. Bring your notes, photos, and utility bills, and ask for written findings with recommended next steps.
The Bottom Line: Diagnose Before You Buy
A cold bedroom and a thin-looking attic are worth taking seriously, but they don't tell the whole story. Compare your attic with the guidance for your climate, then rule out air leaks, moisture, and HVAC problems.
Get the diagnosis right first. Then you can collect estimates that fix the real problem, so you stay comfortable this winter and stop paying to heat the outdoors.
According to the Department of Energy's insulation and air-sealing guidance, insulation and air sealing work together to improve a home's energy efficiency. Together, they can reduce energy use for heating and cooling. If you plan to add attic insulation, ask the contractor how accessible openings will be located and sealed before they're buried.